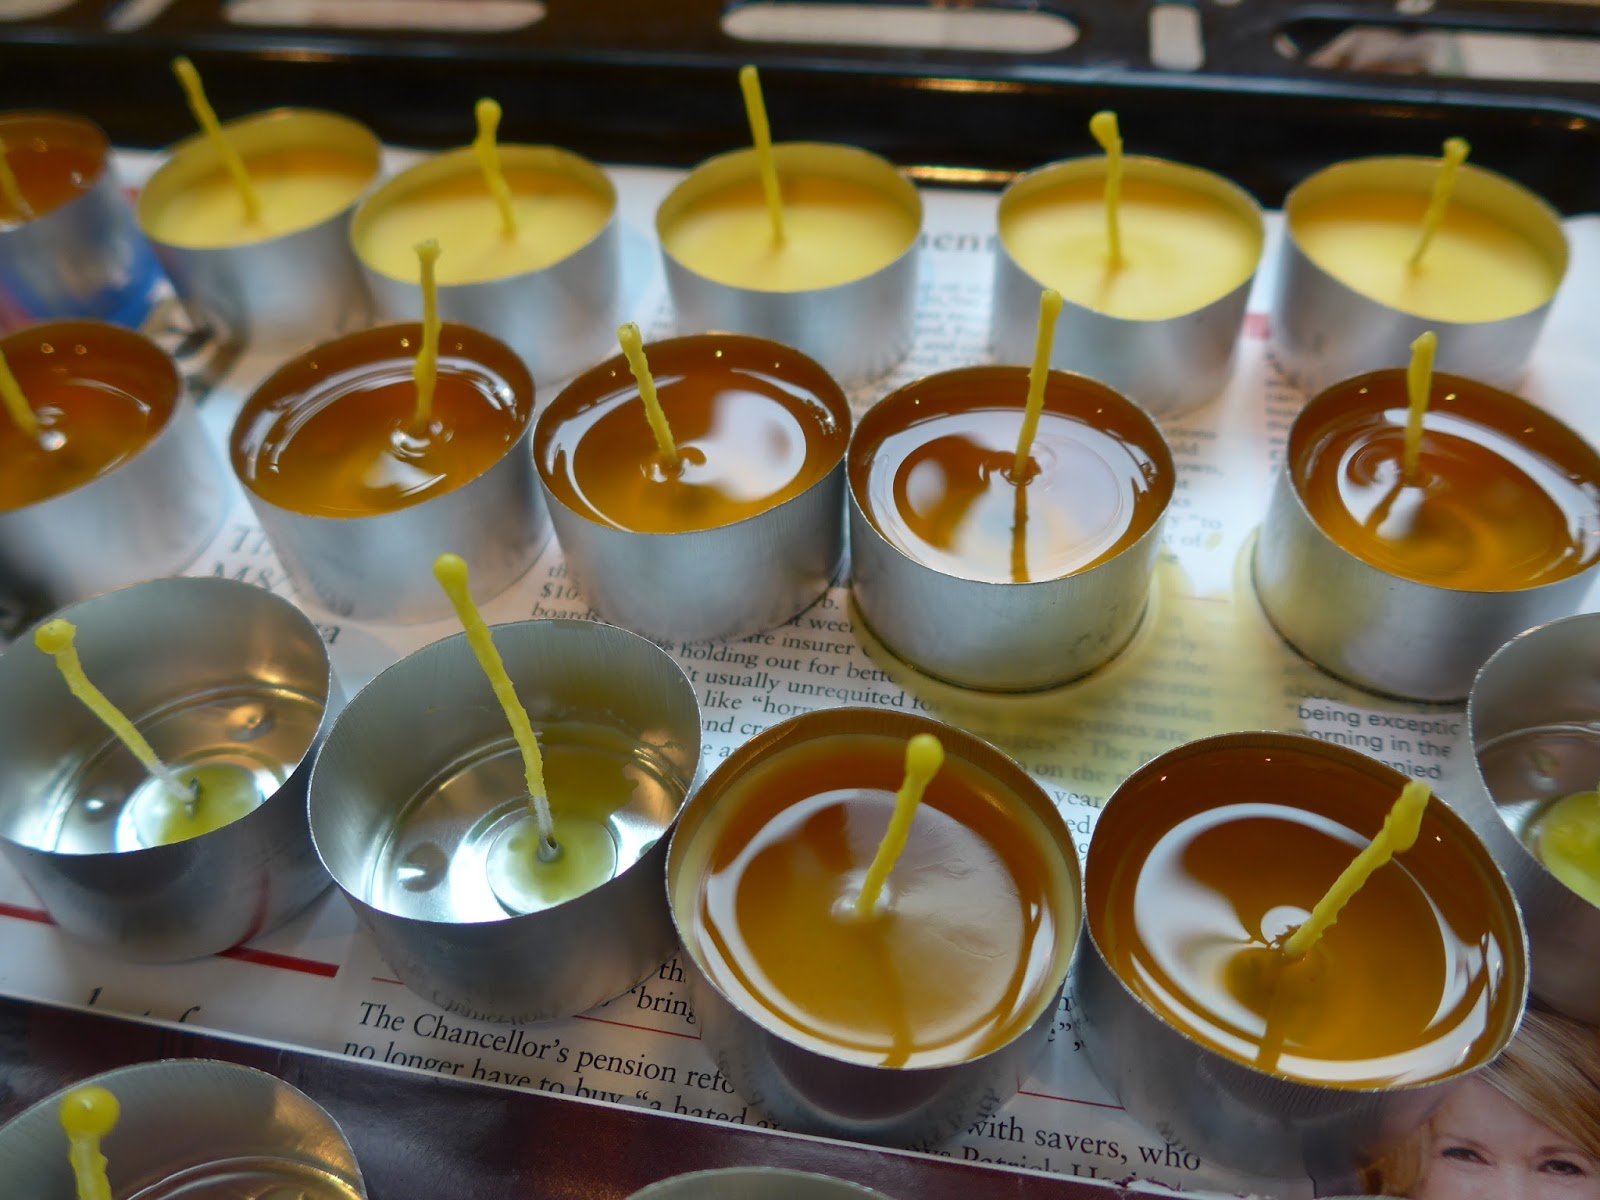
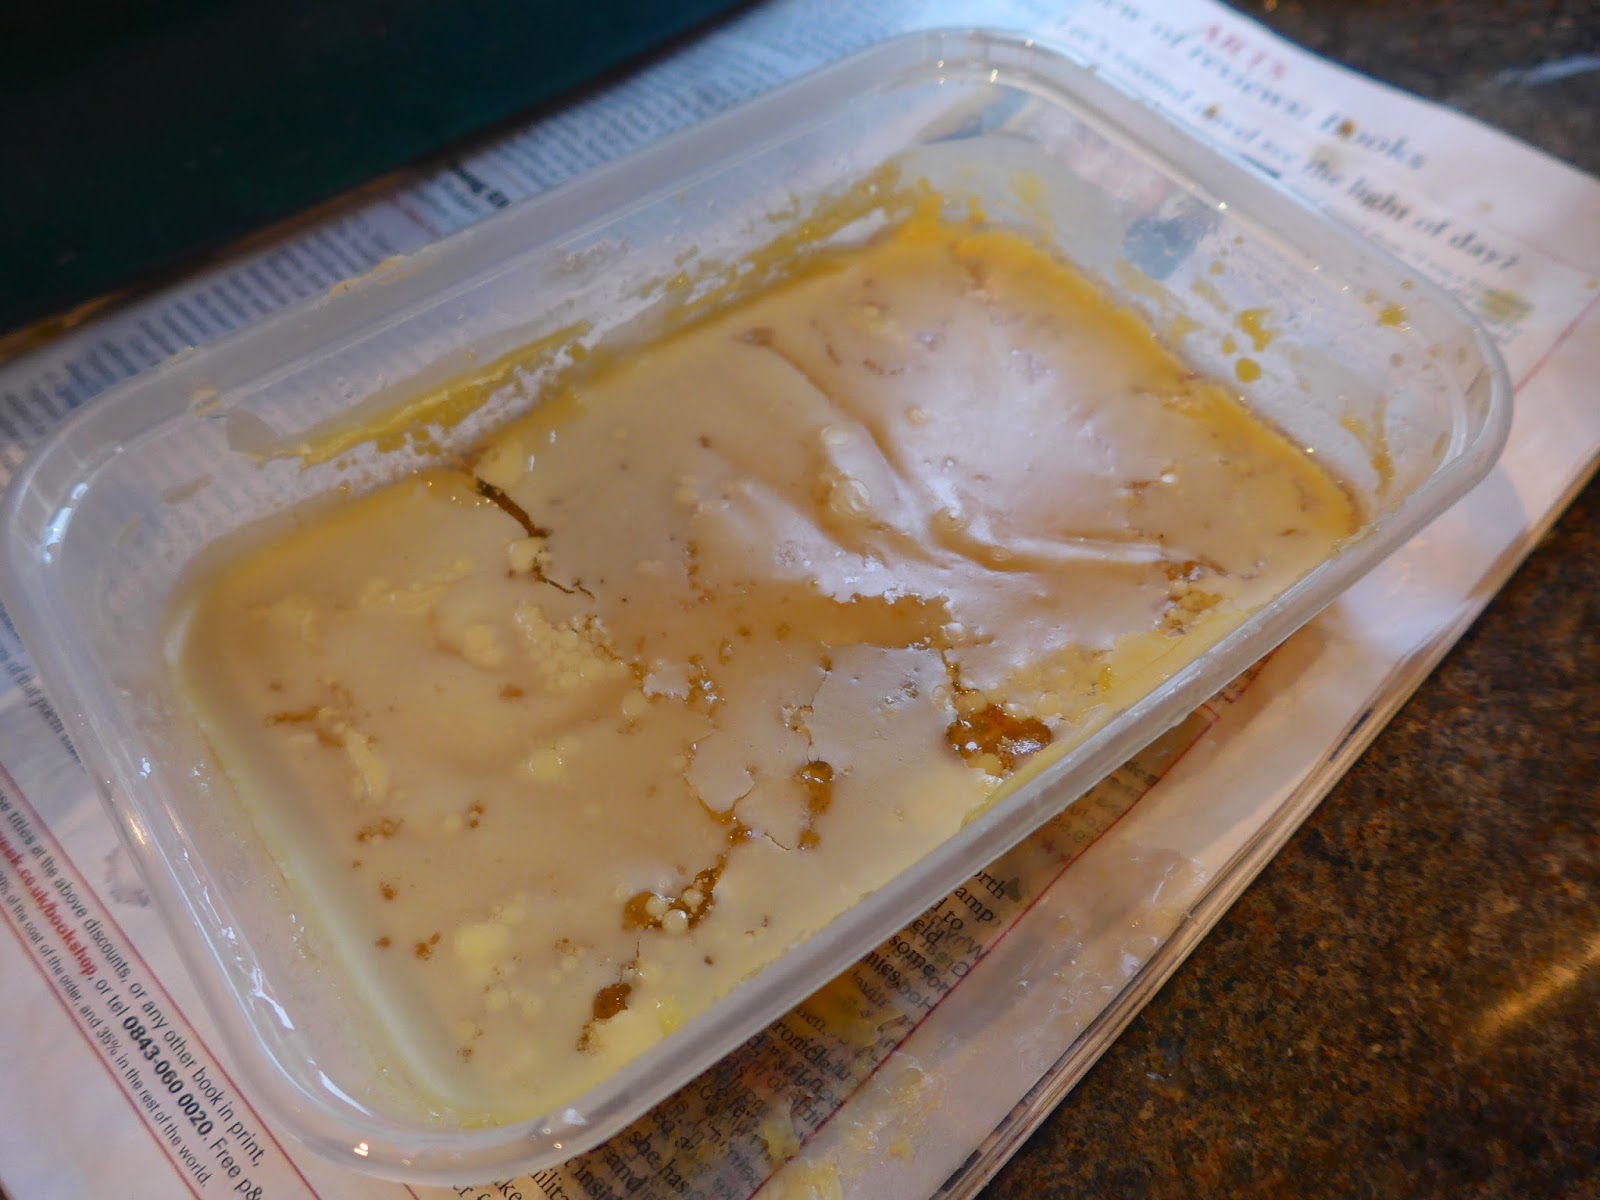
I booked this day out a while ago.....certainly before Christmas so have been looking forward to it for quite some time. I did think fate was trying to conspire against me getting there...temperatures of -4'c first thing in the morning combining with engineering work at Wimbledon and no Metropolitan line meant I had a VERY early start but 4 trains in two hours and I found myself facing the Harrow Arts Centre buildings...

I slithered across the very frosty car park and was relieved to find the track to the apiary, exactly where the instructions described...
I was met by a very warm welcome, coffee and biscuits and the smell of melting beeswax. Within half an hour the room was full, we were divided into 4 groups and off we set to circulate our activities...
My red group started with moulded candles...
Under the watchful gaze of Jo it seemed as though we'd started with the hardest task of the day. To chose a shape we wanted to make!! I was very relieved when I saw a little skep with bees calling to me from in between all the moulds....
The theory of moulding candles is quite straight forward, particularly with these modern silicone moulds. Simple thread the wick through the hole in the mould, ensure the mould is closed tight (lots of elastic bands help here), Melt the wax and pour it into the mould...


Sadly I was a bit too eager beaver and so missed out on Jo's top tip of using a couple of pieces of twisted pasta to support the wick away from the cooling max. So I got a ridge in the base of my candle from the supporting cocktail stick as it cooled...

Thanks to the flow of conversation loaded with hints and tips to select the right sized wick for your candle I didn't notice how quickly the candle cooled and solidified, though I think the chilly day helped, soon enough a pretty little candle appeared...
and was finished off, with another top tip from Jo -trim and dip the wick in the melted wax to prep the wick for lighting.
A quick coffee break and we were off to workshop 2....soap and hand cream making with Judy...
Precision and pre-weighed ingredients were key to getting everything exactly right in this workshop..
to get the soap going....a couple of us were armed with goggle and gloves we took the caustic soda and distilled water outside to mix

Leaving the boys inside to weigh out the coconut oil, shea butter and emulsifying wax, gradually warming it to melt and mix it together

Then it was the turn of the wax mixture to spend a little time outside to cool so that wax and alkali mixtures were about the same temperature for mixing....
Many hands made light work to add the honey and lavender essential oil....
Before stirring and mixing with a stick mixer to encourage the emulsification process...

Then the yummy smelling "custard" was poured into a mould and wrapped in clingfilm and a towel to keep it warm and curing...

By comparison the hand cream was a doddle.....melt, whisk and pot!

I think it was fair to say we were already for some lunch and a hardy few ventured outside to view the apiary....


..and the odd high speed train en route to / from Euston....
Red team's afternoon started with rolled candles with Doreen, who showed us a range of her own candles and generously shared a wealth of tips....
Once again we had a tough choice to make....coloured or natural candles....

and taking full advantage of the more economical Langstroth un-wired natural foundation I had three candles in no time at all....
These held closed with the help of a bee pin, as the wax is rather too brittle and not tacky enough to stay together in chilly weather. You can also see in the picture above that practice makes perfect (another top Doreen tip) see how much flatter the base of the right hand smallest candle is in comparison the the first one I rolled on the left!
Workshop 4 was dipped candles and furniture polish with Bill. Once again we were well informed with sensible advice and top tips...why spend loads of dosh on a posh bain maire when a tall pot and a metal spaghetti tin can do the job perfectly well (note to self; look for an aspraragus pot from a charity shop)...

Simply melt your wax, prepare your wicks (dip and straighten) then master the art of dipping your wick! Its all in the timing to prevent unnecessary additional wrinkles and keeping an even coat of wax building up. Once the candle has reached the desired size simply hang it up to dry properly....
Meanwhile melt some more wax, mix it carefully with turpentine, a gentle whisk and pour into pots. Who knew furniture polish could be so simple...

Or indeed smell so good setting in the late afternoon sunshine in front of some more moulded candles...

All too soon The day was done. There was just time for Bill to take a quick photo of everyone with hands full of beeswax goodies...
before I scurried off to reverse my 4 train journey home.
I had a great day, I learnt loads and have a wonderful treasure trove of beeswax goodies to keep me smiling for quite a while to come. I understand there is already a waiting list developing for people to join the next class, likely to take place in July, I can wholeheartedly recommend it as a great day out, sign up
here soon
Bill emailed us all later saying,
"Just to thank you for coming on the workshop
today, a group photo is attached. We really enjoyed running the day and hope
it'll inspire you to make more products from the beeswax you produce. If you
have a local Honey show, please consider entering the wax/candle classes, maybe
even have a go at the National! "
Be careful what you wish for Bill -I might just be tempted to!!