and to be frank...there's only so much cherry conserve and jam one family can eat, so its time for something different. I can't claim any originality for this recipe,
Ingredients
For the cake:
350g jar morello cherries
125g unsalted butter, at room temperature
125g caster sugar
1 teaspoon vanilla extract
2-3 drops lemon juice – I always have a jif lemon on standby in the fridge for such things!
3 eggs
200g self raising flour
2 tablespoons milk
350g jar morello cherries
125g unsalted butter, at room temperature
125g caster sugar
1 teaspoon vanilla extract
2-3 drops lemon juice – I always have a jif lemon on standby in the fridge for such things!
3 eggs
200g self raising flour
2 tablespoons milk
For the glaze:
2 tablespoons apricot jam
1 tablespoon water
I found it here:2 tablespoons apricot jam
1 tablespoon water
http://thecakedcrusader.blogspot.co.uk/2011/10/morello-cherry-sponge-cake.html
When I googled, recipe's with morello cherries. There are LOADS of excellent cakes on this blog..I might have to go back there again. But for now I'm experimenting with swapping a jar of morello cherries for a bowl straight from the tree...

So here are the official instructions:
Method
Method
Preheat the oven to 180°C/ fan oven 160°C/350°F/ Gas mark 4.
Line a 20cm springform round tin with baking paper.
Drain the cherries and leave them to air dry while you make the cake.
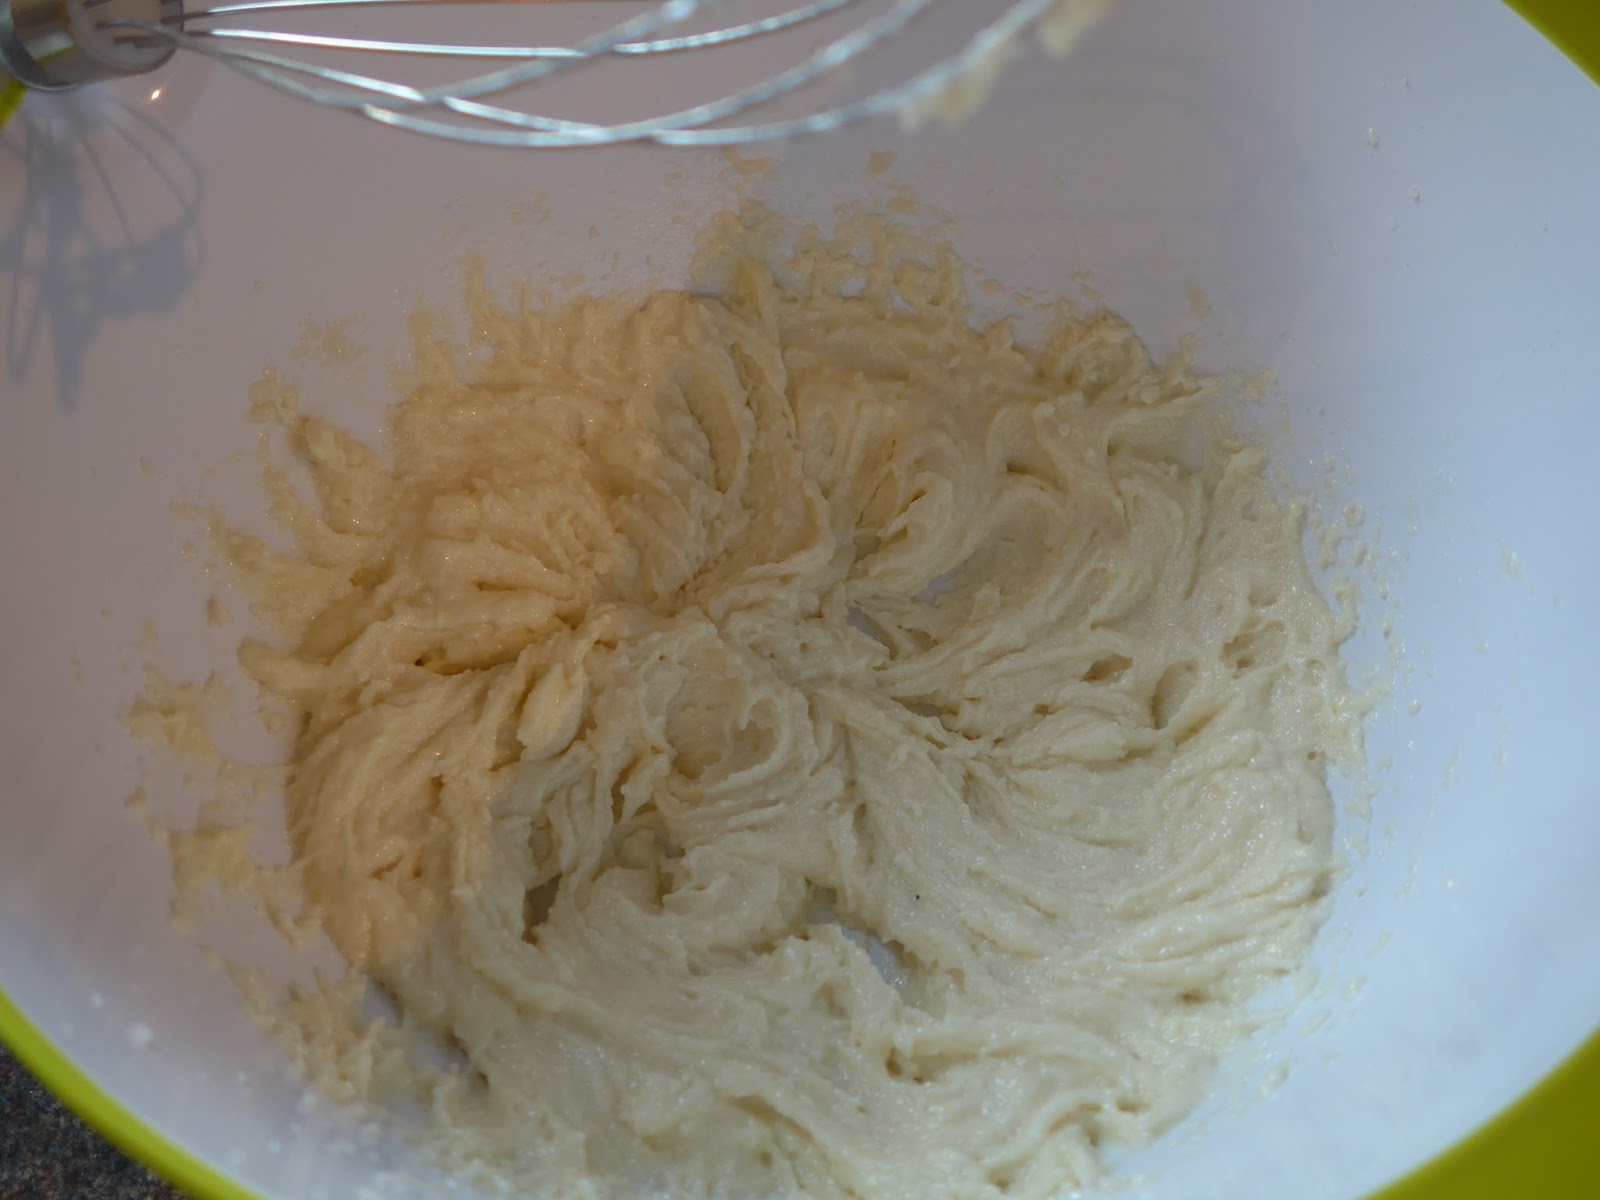
Beat together the butter and sugar until it is light, pale and whippy. Don’t skimp on this stage.
Beat together the butter and sugar until it is light, pale and whippy. Don’t skimp on this stage.
Beat in the vanilla and lemon.
Beat in the eggs one at a time; if the mix looks like it might start to curdle add some of the flower.
Briefly beat in the flour and milk. Don’t overbeat it – just go until the batter looks smooth and the ingredients are well combined.
Spoon the batter into the prepared tin and level the surface.
Gently place the cherries on top of the batter. Don’t press them down as you don’t want to encourage them to sink!
Bake for approximately 40 minutes or until a skewer inserted into the cake comes out cleanly.
While the cake is baking, pass the jam through a sieve and stir in the water.
As soon as the cake comes out of the oven, heat the jam and water to boiling point then brush over the hot cake.
Leave the cake to cool on a wire rack. Leave it in its tin until you can safely remove it.
The cake will store in an airtight container for several days.
Serve in generous slices with thick cream.
Bask in the glory of the wonderful thing you have created.
Eat.
Which I adapted slightly. So instead of draining the cherries and leaving them to air dry I stirred some sugar into mine after destoning them, just to draw out some of that super sour juice...

I did what I was told with the butter and sugar, beating it together till it was pale , light and whippy....


Topping it up with the remaining batter...and popping it into the oven...


It smelled divine!
And you're gonna have to trust me that it tasted divine too as it disappeared so quickly that we didn't get to photograph it!!
Thank fully we've got sooooo many cherries that I've frozen a load so I shall have the opportunity to make it again..hopefully VERY soon!

Which I adapted slightly. So instead of draining the cherries and leaving them to air dry I stirred some sugar into mine after destoning them, just to draw out some of that super sour juice...

I did what I was told with the butter and sugar, beating it together till it was pale , light and whippy....
I spooned the batter into the cake tin (silicon in my case) and spooned the cherries in,without pressing them down (see I can follow instructions)


Topping it up with the remaining batter...and popping it into the oven...

Can you guess stage two of the experimental deviation from instructions?

Who needs apricot jam when you've got a stash of cherry ?
I made the glaze as per the instructions, just with cherry jam, and then painted it on the cake...


It smelled divine!
And you're gonna have to trust me that it tasted divine too as it disappeared so quickly that we didn't get to photograph it!!
Thank fully we've got sooooo many cherries that I've frozen a load so I shall have the opportunity to make it again..hopefully VERY soon!