
I had a bit of a rush at it between Christmas and New Year when I used an almost sunny day to trace some more patterns on further sections...
Tall conservatory doors come in really useful for this. Simply stick the pattern on the glass, tape the fabric over it and as long as there is enough daylight the window becomes a superb tracing box...
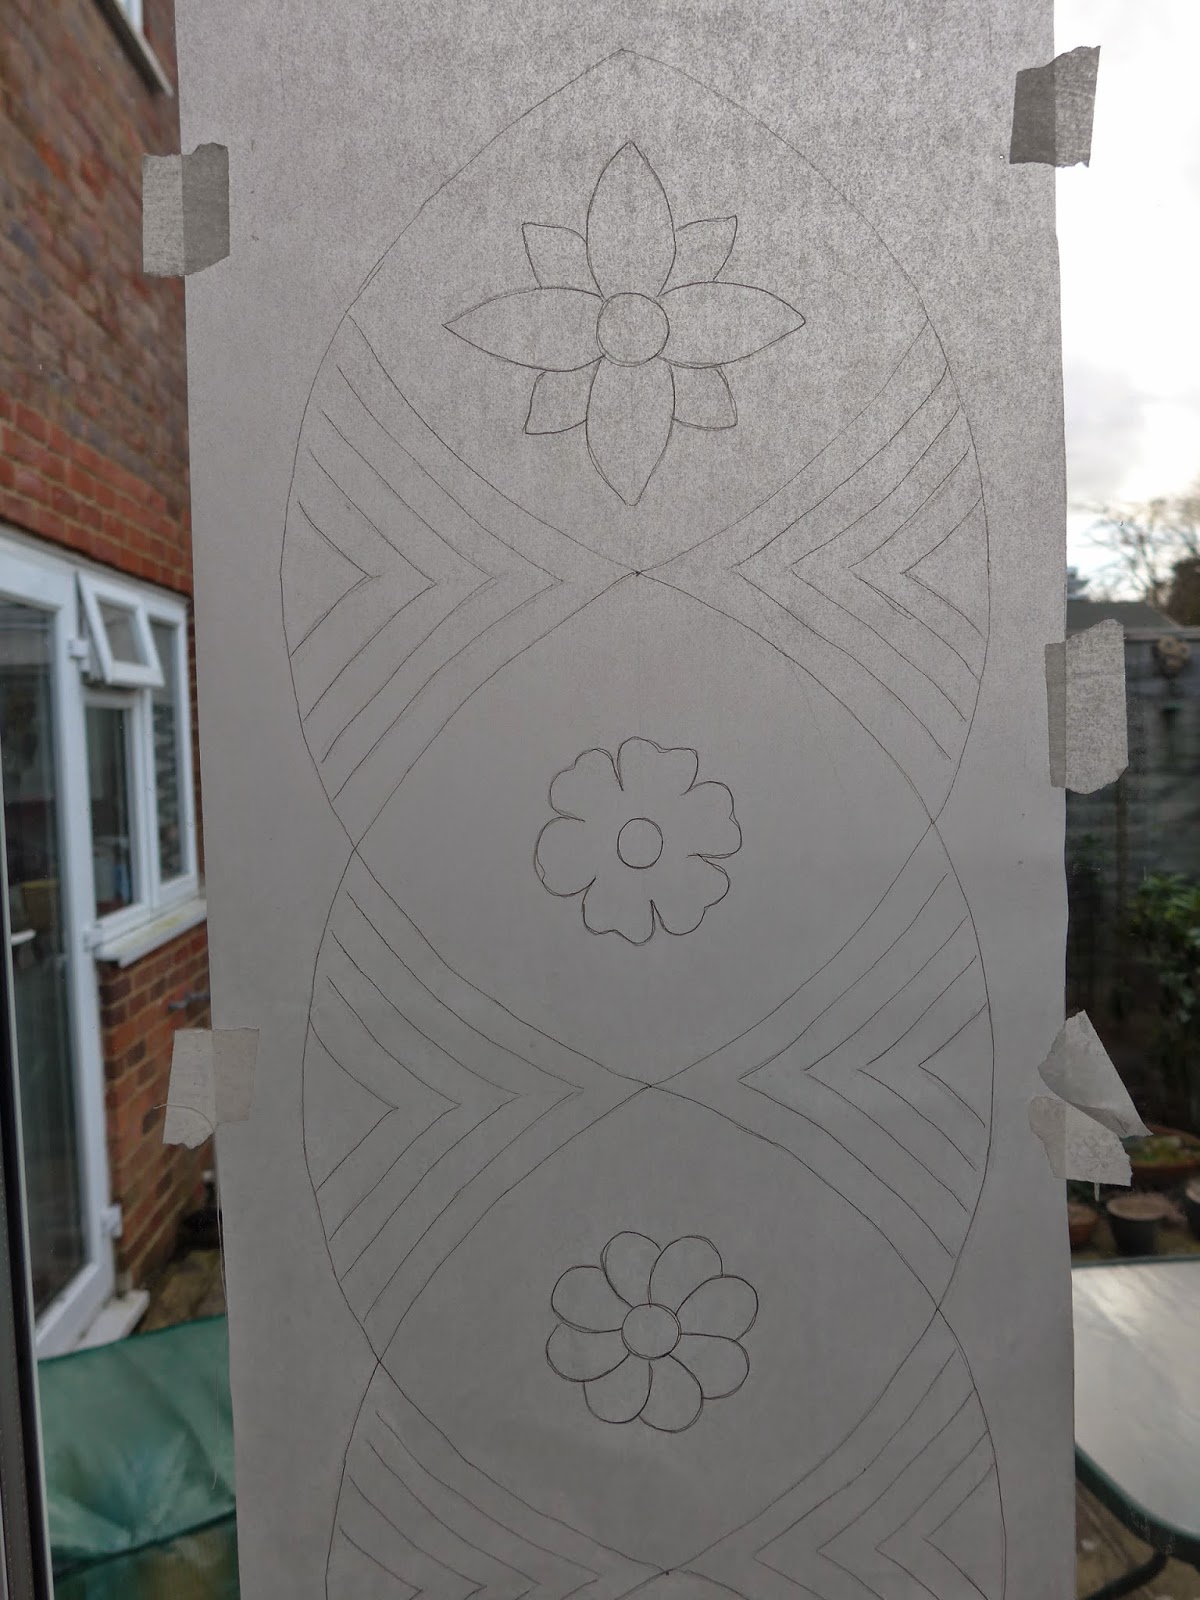

I can see the lines.... can you?

even if you missed the pattern lines you may have spotted the plastic "green house" that had taken its third topple over of the winter so far....( I can't be a very conscientious gardener as it stayed there for quite a few days!

Inside it was organised chaos as pattern pieces and strips of fabric got folded in and out of piles and draped around the furniture....

But gradually the plan started to come together......

And, if I may say so myself,the quilting is actually looking pretty good.....

Now among my quilting friends, the joining technique - "quilt as you go" has something of a mixed reputaton (!) Here's a quick summary of how it works....
Pin the backing, and the wadding backwards out of the way of the two edges you want to join together, pin together and machine with 1/4" seam allowance...


Finger press the seam open to sharpen and then back towards the darker fabric...

Then unpin the wadding and let it flap over into the gap, pin the backing out of the way to avoid nicking it as you cut away the overlap between the two pieces of wadding. I've come to the conclusion there is no easy way to do this... small sharp scissors and a steady hand seem to be the way forward...


With the excess wadding overlap cut away the edges but up against each other. There is no rule that says they are better off being sewn together, the quilting should hold the wadding in place, but working on the "better safe than sorry" principle I do tend to ladder stitch the edges together...

After that... its a case of flattening one piece of backing and folding the other over and appliqueing a 1/4 " seam to finish the back.
But first I think I need to admire this on the bed (in the guise of working out
how many more strips I need to make to get it to cover the full width of the bed....
Well the good news is that it may only need another 4 panels to be considered finished width, but I think its also going to need a border to help neaten up that bottom edge...
Now I'd love to stick my nose in the pattern book and get choosing but I've got 4 seams to finish off first. Thank heavens for a Sunday afternoon of rugby!!
Looks amazing - stunning - look forward to seeing the other four!
ReplyDelete